Description:
This tutorial will give you step by step instructions on how to use Adobe Photoshop to create a neat lightning effect in minutes.
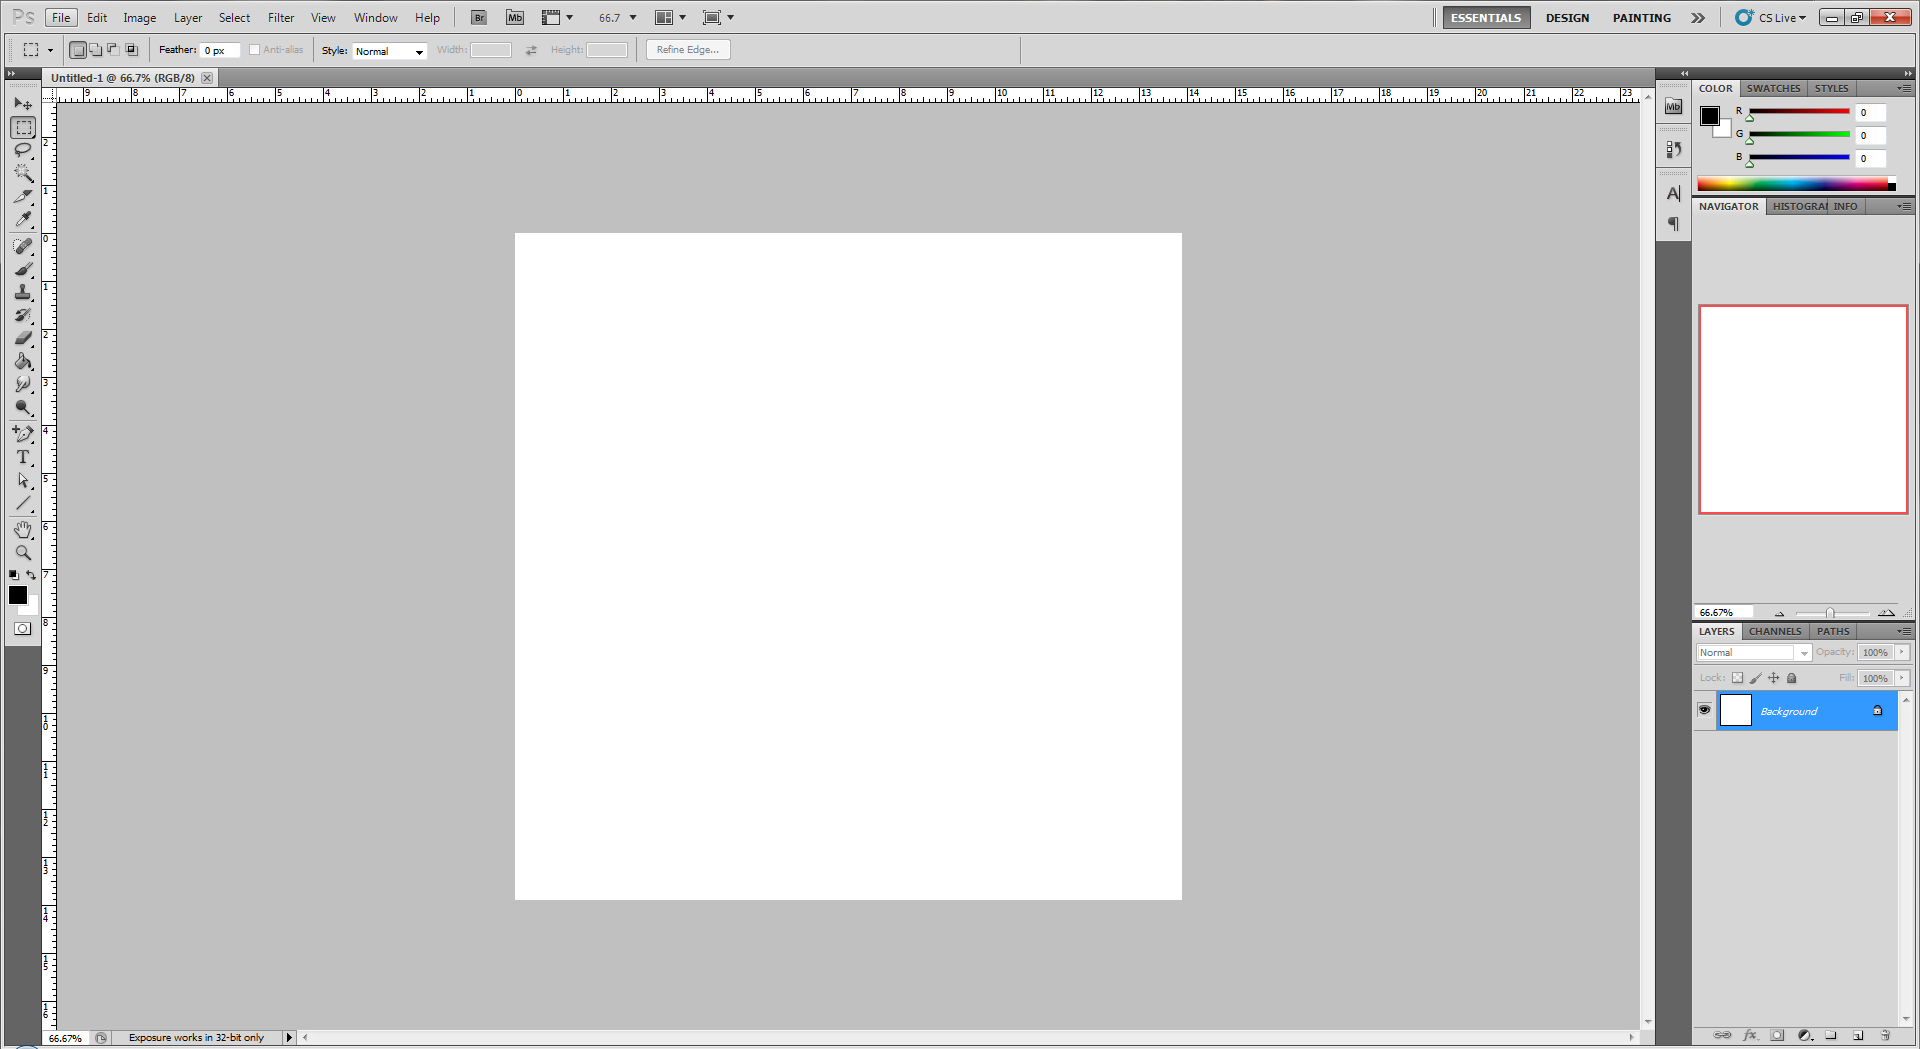
Step 1: Make a new file with the dimensions of 1000px x 1000px with a white background
 Step 2:
 Make sure you colors are set on the default Black and White
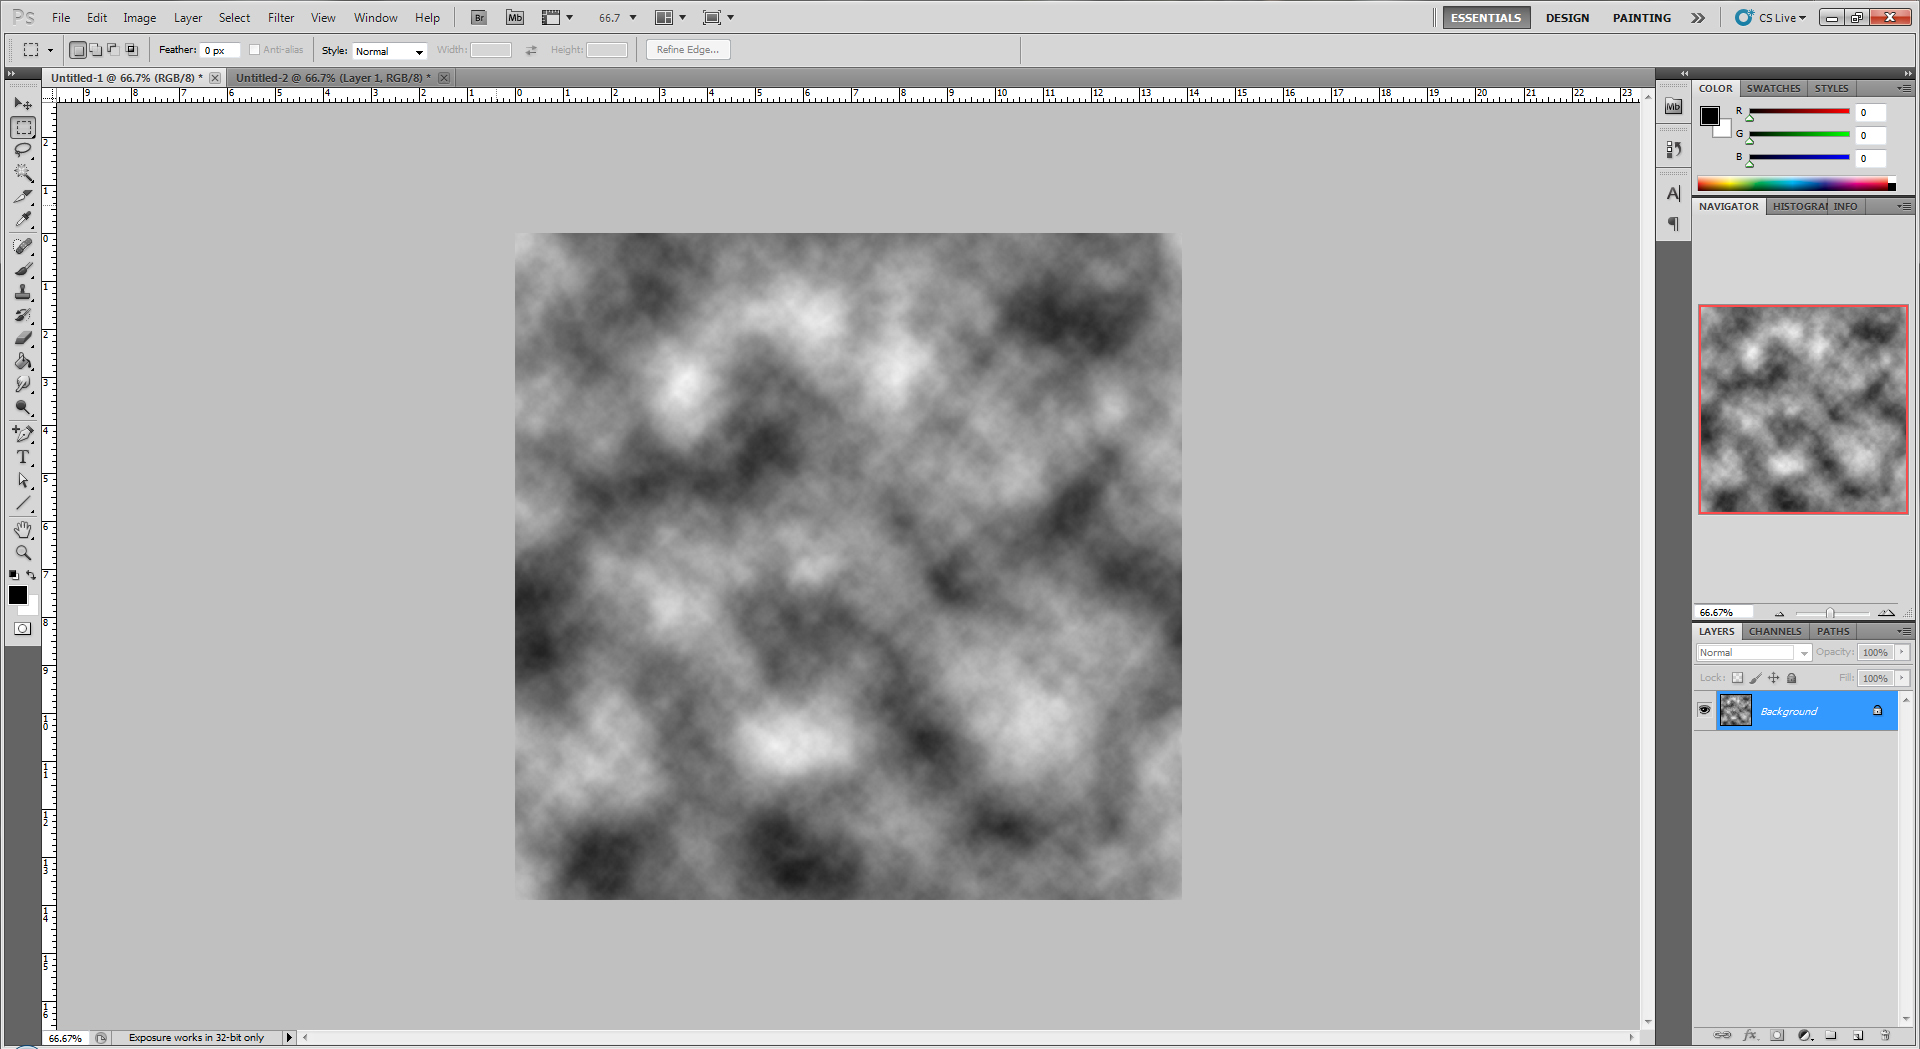
Step 3: Click Filter >> Render >> Clouds
 Step 4:
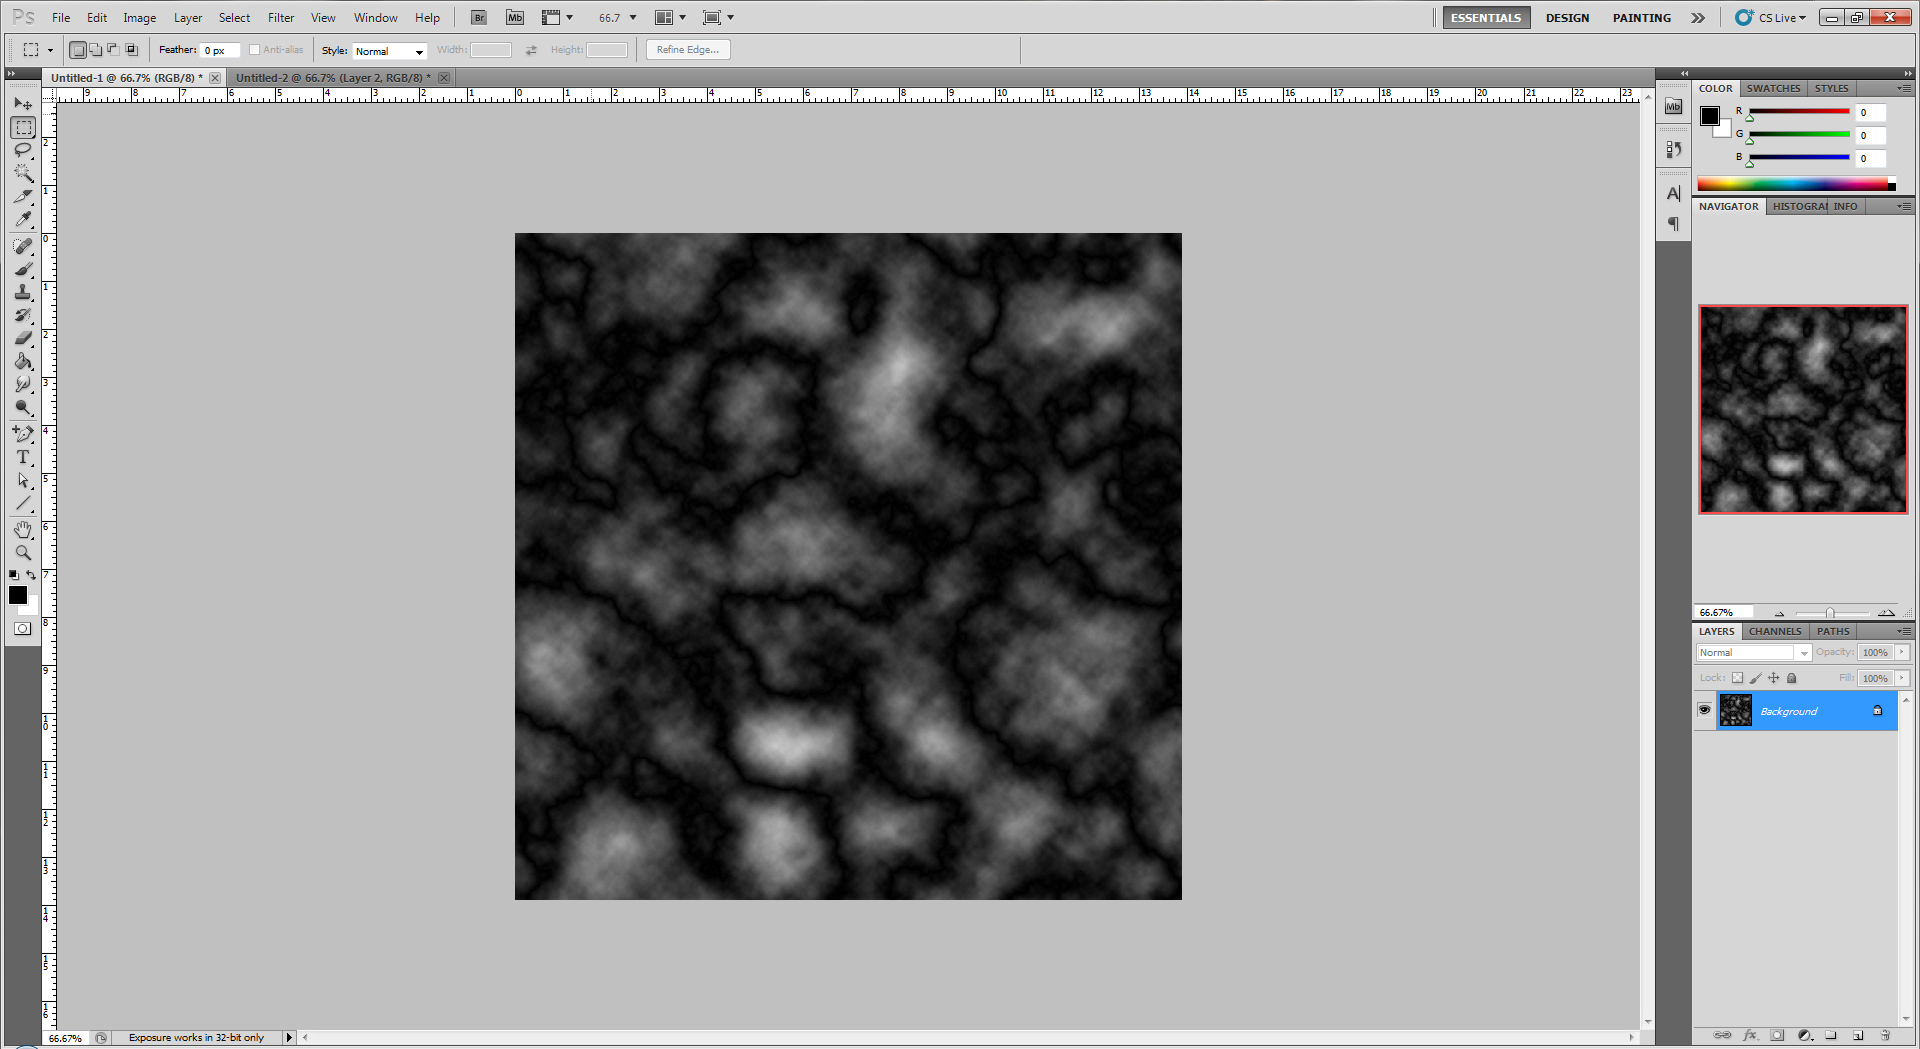
 Click Filter >> Render >> Difference Clouds
 Step 7:
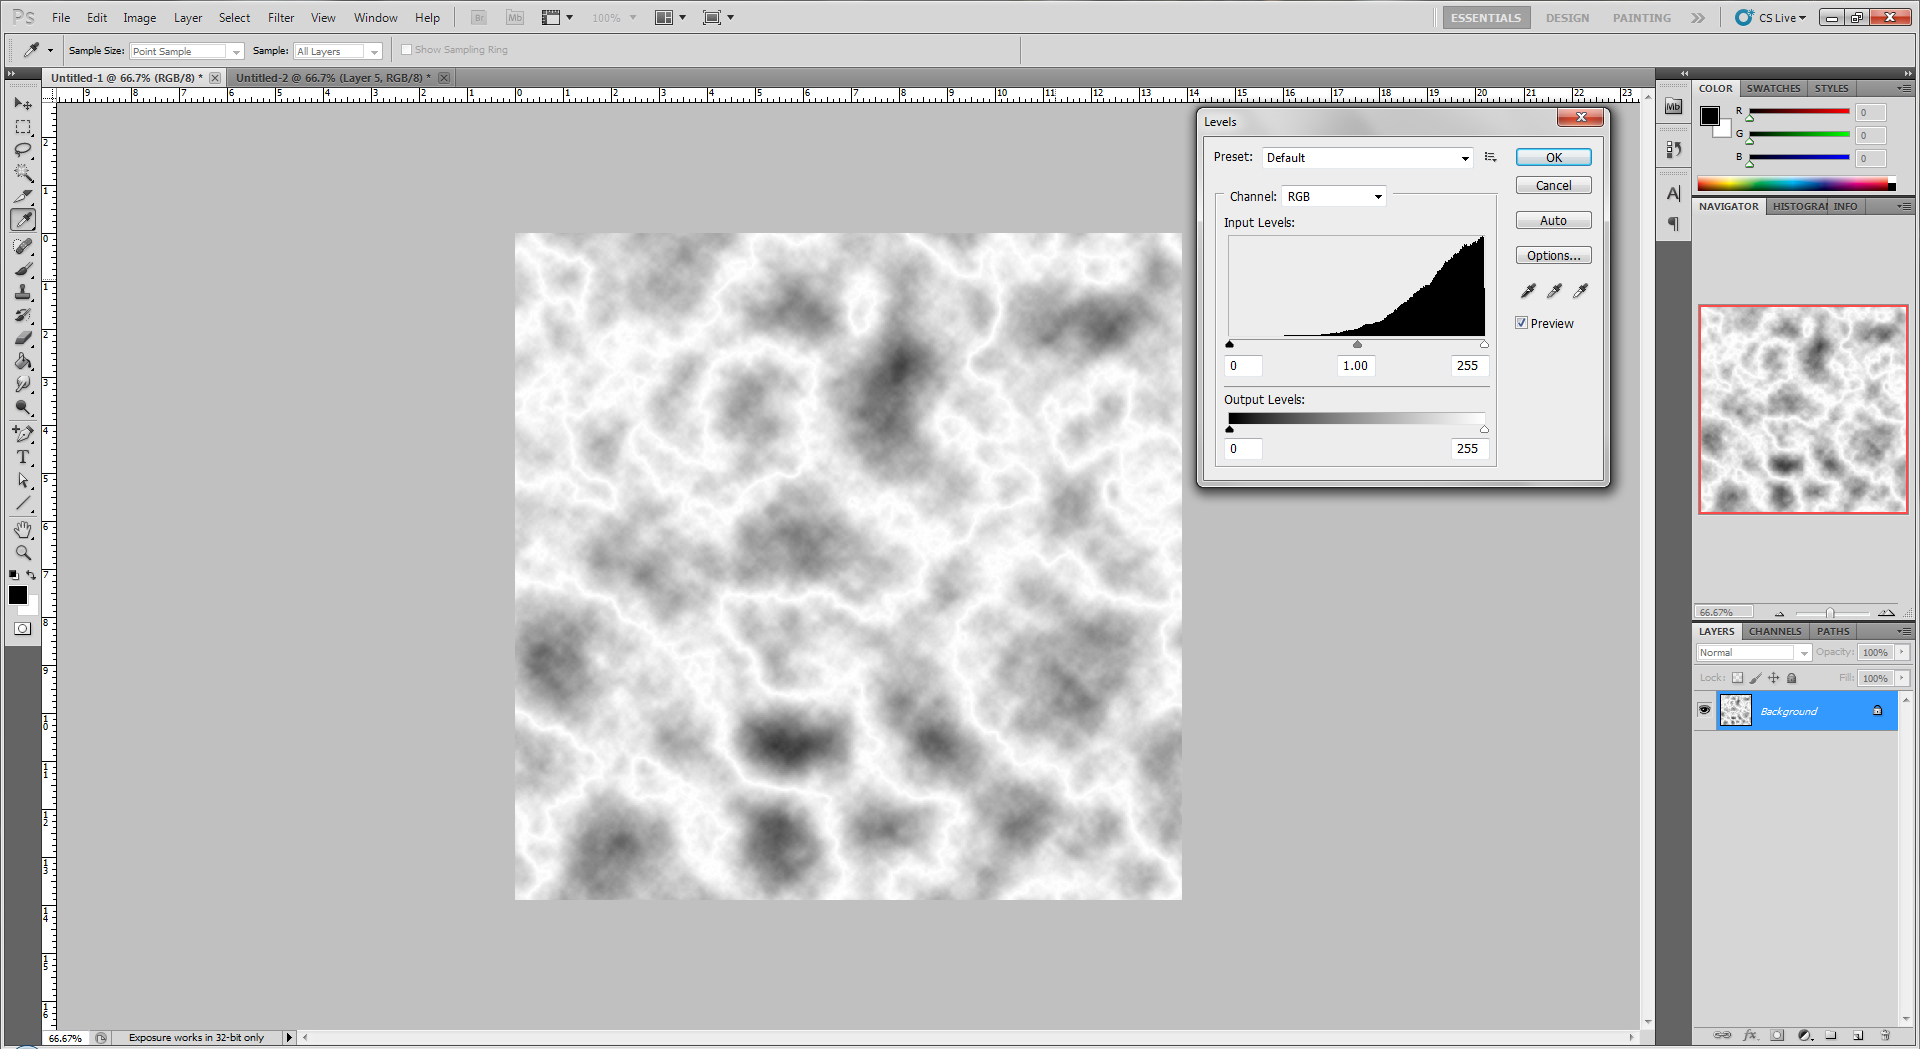
 Click Image >> Adjustments >> Invert
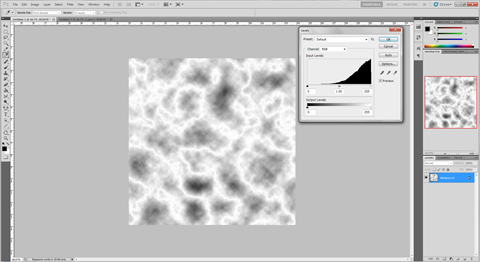
 Step 8:
 Click Image >> Adjustments >> Levels, and make the settings similar to the picture below.
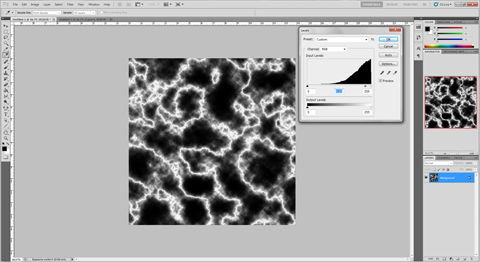
 Step 8:
 Yours should look similar to this now.
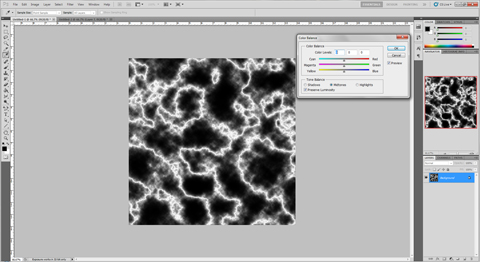
 Step 8:
 Click Image >> Adjustments >> Color Balance, and Make the Settings similar to the picture below for blue, or change them to make the lightning any color.
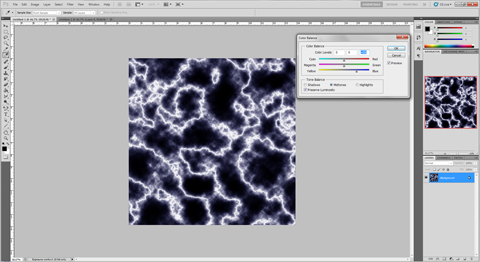
 Step 8:
 If you chose blue this is what it should look like
 Step 9:
 Congratulations, You Are Done. Now Save Your File
Completed Object